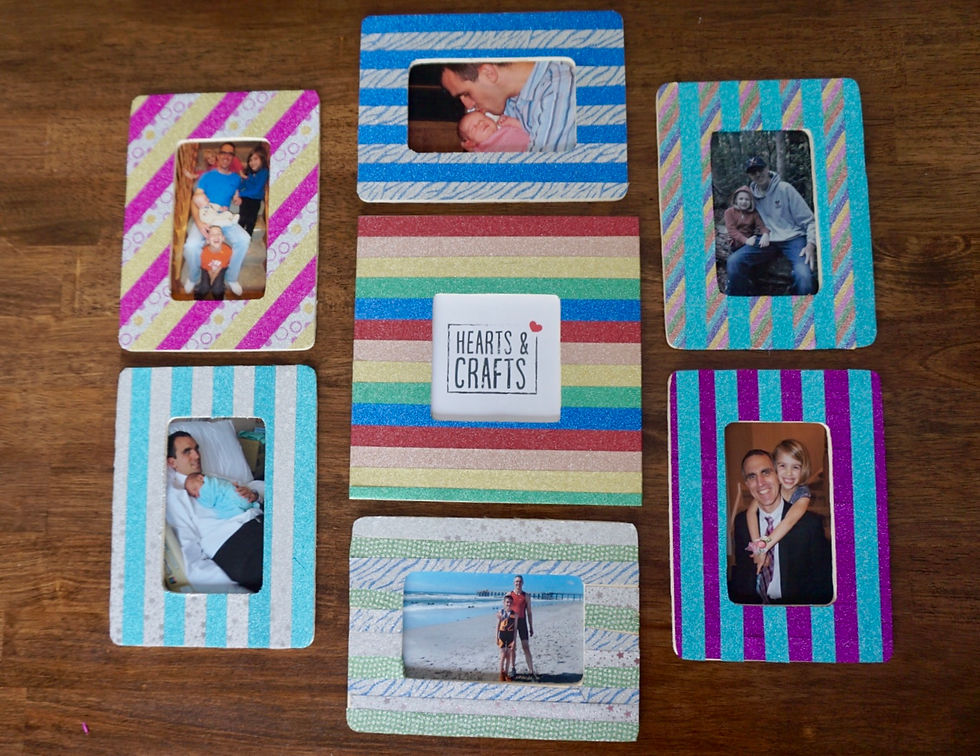
Washi Tape Picture Frames
- Hearts & Crafts Family
- Jun 9, 2018
- 2 min read

Looking for something to keep your little ones busy over the summer? Then check out our Hearts & Crafts Summer Crafting Series. Today we'll be showing you how to make these darling washi tape picture frames. This craft is inexpensive, easy and fun!
What You'll Need:
-flat, wooden picture frame
-scissors or an X-acto knife (you'll want a cutting mat to protect your workspace if you use the X-acto knife)
-Hearts & Crafts Premium Washi Tape collection
We got our frames at Joann (a four-pack cost only 4.99) but I have also seen them at Target and Walmart for a dollar and some change.
Instructions:
STEP ONE: pick out your colors and start a pattern.

STEP TWO: Apply your washi tape. Rather than try to cut it just right the first time, I like to leave a little extra on each side. We'll come back later to cut off the excess and leave a nice clean line. Make sure to press down across the entire strip of washi tape as you apply it. You can slightly overlap your tape, but I prefer not to -- I find it adheres better to the wood than to the tape itself, and I like how it keeps my lines nice and straight.

STEP THREE: Continue placing tape all the way down the frame. Be sure to smooth out any wrinkles you may create as you go. If you mess up while placing the tape, just peel it off and try again! The tape is very forgiving. Just be sure to press down firmly once you have each piece where you want so that it will stay firmly in place.

STEP FOUR: Pick up your frame. I usually start with one corner and work my way down. You do have to be careful or you could pull some of your tape off. If that happens -- no big deal -- just reapply and smooth down before you proceed.

STEP FIVE: Flip the frame over. Use your scissors to trim tightly along the edge.


If perfection is your goal, you'll definitely want to opt for the X-acto knife here. You'll get a much cleaner cut. I don't recommend allowing anyone under the age of 14 to use as those things are very, very sharp. But they do get the job done quickly when used correctly and with a cutting mat to protect your workspace.

STEP SIX: Flip your frame back over and you're done! Now all you need is a cute picture to go in your frame.

You can add a magnet to the back and hang on your refrigerator, inside your locker or on the side of the filing cabinet at Mom or Dad's office. Command strips would also work nicely and allow you to hang these frames virtually anywhere.
Here are some of the gifts my little ones made for Father's Day ... shhh -- don't tell Dad. ;)

To buy your own set of Hearts & Crafts Premium Washi Tape, click on the link button in the pink navigation bar at the top of the page. Happy crafting!


Comments